

Key Takeaways
- Failed or cracked caulk around windows and doors allows conditioned air to escape, raising energy costs year-round.
- Late summer to early fall is the optimal time to re-caulk before extreme temperature swings affect adhesion.
- Silicone caulk suits exterior joints; latex or acrylic-latex blends are more paintable for interior trim.
- Thorough surface preparation - removing old caulk and cleaning the joint - determines how long any new seal lasts.
- After sealing a home tightly, consider a whole-house ventilation plan to manage indoor air quality and moisture.
What you will need
Why Caulk Fails and When to Act
Caulk is a flexible sealant that bridges the gap between window and door frames and the surrounding wall surface. Over time, UV exposure, thermal cycling (the repeated expansion and contraction of materials as temperatures change), and moisture cause caulk to shrink, crack, or pull away from the substrate. When that happens, conditioned air leaks out and outdoor air infiltrates - driving up heating and cooling costs and potentially introducing moisture that can damage framing and finishes.
The U.S. Department of Energy identifies air sealing as one of the highest-impact, lowest-cost improvements a homeowner can make. Checking caulk annually is a straightforward way to stay ahead of that problem.
Signs caulk needs replacing:
- Visible cracks, gaps, or sections that have separated from the frame or wall
- Caulk that crumbles when pressed gently with a fingernail
- Discoloration or mold growth on the bead surface
- Drafts felt near frames during windy weather
Best timing: Aim to inspect and re-caulk in late summer or early fall, when temperatures are moderate - ideally between 40°F and 80°F. Most caulks cure poorly in extreme cold, and very hot surfaces can prevent proper adhesion. Pair this task with your broader seasonal home systems walkthrough so nothing gets overlooked.
Choosing the Right Caulk for the Job
Not all caulks are created equal. Selecting the wrong formulation is one of the most common reasons a seal fails prematurely. For a deeper look at how caulk compares to related sealing materials, see our guide on grout, mortar, and caulk.
Common caulk types for windows and doors:
- Silicone: Highly durable and flexible; excellent resistance to UV and moisture; ideal for exterior joints where movement is significant. Cannot be painted over, so best reserved for areas where color match isn't critical or where a clear bead is acceptable.
- Acrylic-latex (paintable caulk): Easy to apply and clean up with water; accepts paint once cured; suitable for interior trim and lower-movement exterior joints. Less durable than silicone in extreme conditions.
- Siliconized latex (hybrid): Combines the paintability of latex with improved flexibility and moisture resistance from added silicone. A versatile choice for many exterior applications.
Caulk gun
Dispenses caulk from the tube at a controlled, consistent rate.
Utility knife or caulk removal tool
Cuts and lifts old caulk from the joint cleanly without damaging the frame.
Painter's tape
Masks adjacent surfaces to produce a straight, clean caulk line.
Rubbing alcohol and clean rags
Cleans and degreases the joint surface to improve caulk adhesion.
Caulk finishing tool or wet fingertip
Smooths and presses the fresh bead into the joint for a professional finish.
Always check the product label for recommended temperature range during application and expected cure time before exposing the joint to rain or temperature extremes.
Step-by-Step: How to Re-Caulk a Window or Door
Follow these steps carefully. Rushing preparation is the most common reason new caulk fails within a season.
What you will need
Inspect the existing caulk
Work your way around each window and door frame, examining the full perimeter of the caulk bead. Look for cracks, gaps, separation from the surface, or any soft or crumbling sections. Use a bright flashlight to spot hairline cracks that aren't obvious in normal light. Mark problem areas with painter's tape so you don't miss them during removal.
Remove all old caulk
Skipping this step is the leading cause of premature failure. Use a utility knife or dedicated caulk removal tool to score and lift the old bead. Work slowly to avoid gouging wood trim or scratching vinyl frames. For stubborn residue, a plastic scraper or caulk-softening product can help. Remove every trace - new caulk will not bond reliably over old material.
Clean and dry the joint
Wipe the bare joint with rubbing alcohol or a mild cleaner to remove dust, grease, and any mold residue. Allow the surface to dry completely - moisture trapped under new caulk is a primary cause of mold growth and adhesion failure. Do not proceed until the joint feels completely dry to the touch.
Apply painter's tape for a clean bead
Run painter's tape along both sides of the joint, leaving only the gap you want to fill exposed. This step is optional for experienced applicators but strongly recommended for beginners - it produces a neat, professional-looking line and prevents caulk from smearing onto finished surfaces.
Load and cut the caulk tube
Load the tube into the caulk gun. Cut the nozzle at a 45-degree angle with a utility knife - start with a small opening (about 3/16 inch) and enlarge it only if the joint requires a wider bead. Puncture the inner foil seal with the built-in rod on the gun or a wire.
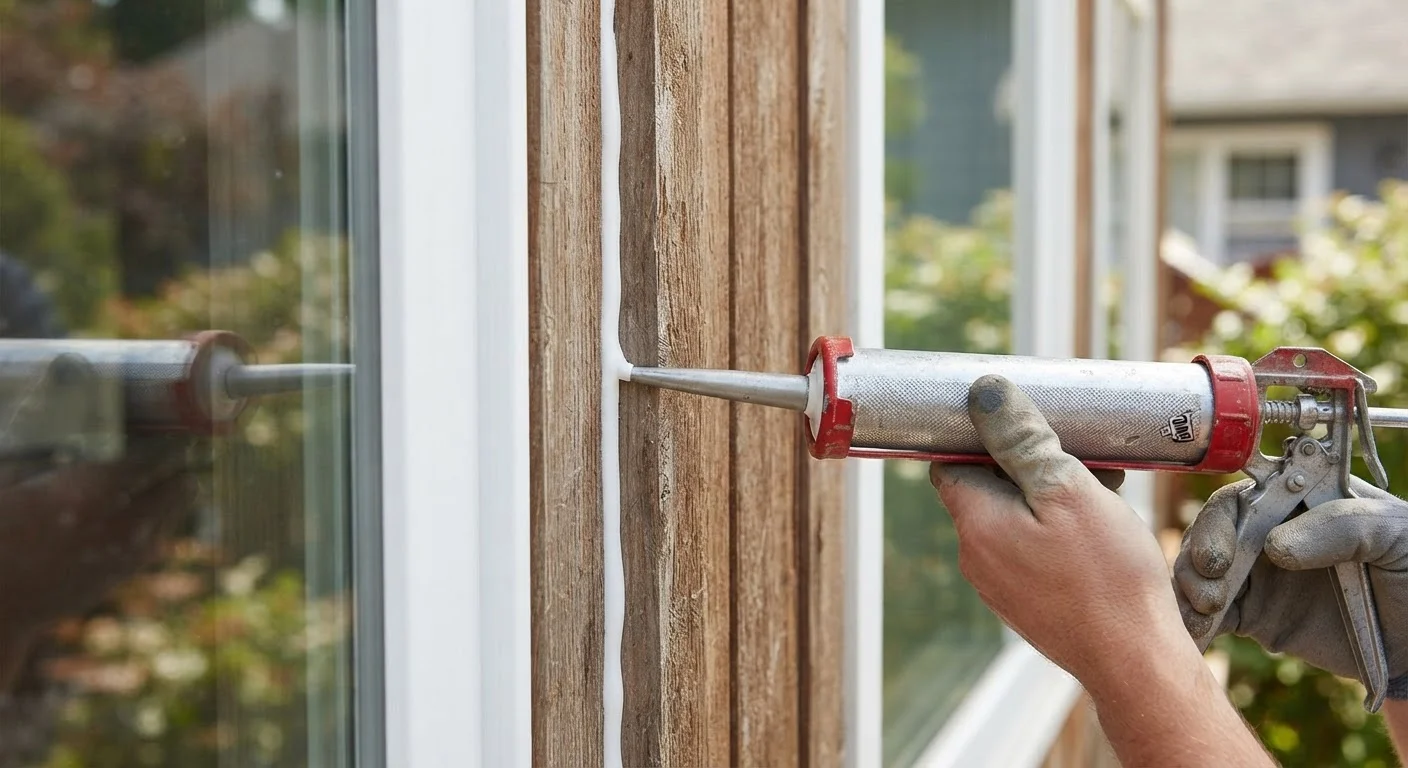
Apply the caulk bead
Hold the gun at a consistent 45-degree angle to the joint and apply steady, even pressure as you draw the gun smoothly along the gap. Maintain a consistent speed - moving too quickly leaves gaps, moving too slowly produces an uneven buildup. Aim to fill the joint in one continuous pass where possible.
Tool and smooth the bead
Within a minute of application - before a skin forms - use a wet fingertip or a caulk-finishing tool to press the bead into the joint and create a smooth, slightly concave profile. This ensures the caulk contacts both surfaces fully and improves adhesion. Wipe away excess with a damp cloth (for latex) or a cloth dampened with mineral spirits (for silicone).
Remove tape and allow to cure
Pull painter's tape away immediately after smoothing, before the caulk begins to skin over. Remove it at a low angle to avoid lifting the fresh bead. Allow the caulk to cure fully according to the manufacturer's instructions - typically 24 hours for latex formulations and longer for silicone - before exposing the joint to rain or significant temperature changes.
Don't Caulk the Weep Holes
Many window frames, particularly on double-hung and casement windows, have small slots or holes along the bottom sill called weep holes. These allow water that enters the frame channel to drain out rather than pooling and rotting the sill. Never fill these openings with caulk. If you're unsure whether an opening is a weep hole or a gap to seal, consult the window manufacturer's documentation.
Once sealed, keep in mind that a tighter building envelope affects indoor ventilation. If you're sealing multiple windows and doors throughout the house, review our article on whole-house ventilation to ensure adequate airflow. Your HVAC system's maintenance also plays a key role in managing air quality in a well-sealed home.