

Key Takeaways
- The right patching method depends on hole size - nail pops, small holes, and larger voids each need a different approach.
- Joint compound typically requires two to three coats, with drying time between each coat.
- Proper feathering of compound edges is what makes a patch blend invisibly with surrounding drywall.
- Sanding between coats and priming before painting are non-negotiable steps for a clean finish.
- Most drywall repairs cost only a few dollars in materials when done yourself.
What you will need
Choosing the Right Repair Method for the Hole
Not every drywall blemish calls for the same fix. Matching your method to the damage type is the single most important decision you'll make before opening a can of compound.
Nail Holes and Hairline Cracks
These are the simplest repairs. A single application of lightweight spackling compound, smoothed flush with a putty knife and allowed to dry, is typically all you need. Sand lightly once dry, prime, and paint.
Small Holes (up to 4 inches)
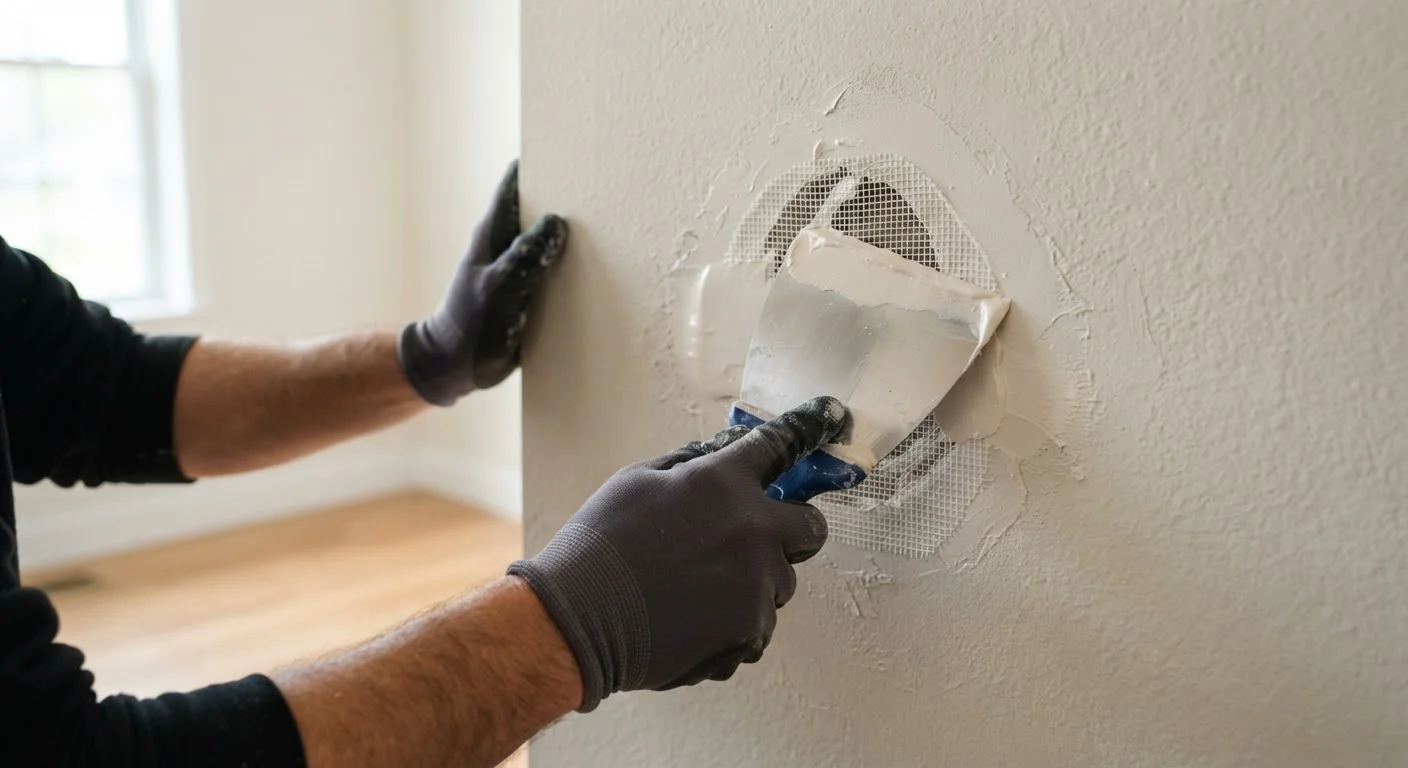
Doorknob dings and other small holes are best handled with a self-adhesive mesh patch kit. The mesh provides a backing that holds compound without falling through. Apply two to three coats of all-purpose joint compound over the mesh, feathering each coat outward.
Larger Holes (4 inches and up)
Anything bigger requires a solid backer - either a purpose-cut piece of drywall secured with backing boards screwed into the surrounding wall, or a California patch (a technique using the paper facing of a scrap piece as a built-in tape layer). Both create a rigid surface that compound can bond to without cracking.
Size Up, Not Down, When Choosing a Method
When in doubt about which repair technique to use, choose the more robust option. Undersupported patches flex slightly as the house settles, causing hairline cracks to reappear along the compound edges. A little extra preparation upfront saves you from repeating the repair in a year.
When in doubt, size up your repair method rather than down. Undersupported patches flex over time and crack along the edges, sending you back to square one.
What You'll Need Before You Start
Gathering materials before you begin prevents interruptions mid-repair, which can cause compound to dry unevenly.
What you will need
Utility knife
Trim loose drywall edges and cut patch material to size.
6-inch and 10-inch putty or taping knives
Apply and feather joint compound in progressively wider coats.
All-purpose joint compound
Fill, bed, and finish the repaired area across multiple coats.
Self-adhesive mesh patch kit
Provides a backing and reinforcement for holes up to about 4 inches.
Drywall screws and screwdriver or drill
Fasten backing boards and patch panels securely inside the wall cavity.
120- and 150-grit sandpaper or sanding sponge
Smooth compound between coats and before priming.
Drywall primer (PVA primer)
Seals porous compound so finish paint adheres evenly without flashing.
N95 dust mask
Protects against fine silica dust when sanding dried joint compound.
Step-by-Step: Patching the Hole
Follow these steps in order. Rushing the drying stages is the most common reason patches crack or show through paint.
Prepare the Damaged Area
Use a utility knife to trim away any loose paper or crumbling drywall around the hole's edge. Ragged edges prevent compound from bonding cleanly. For larger holes, cut back to the nearest studs or use a drywall saw to create clean, straight edges. Wipe away dust with a dry cloth.
Install Backing or Patch Material
For small holes, peel and stick a self-adhesive mesh patch centered over the damage. For larger holes, cut two lengths of 1×3 or 1×4 furring strip slightly longer than the hole's height. Slide them inside the wall cavity and hold them against the back face of the drywall while you drive drywall screws through the existing drywall into each strip. These strips are your backing. Cut a drywall patch to fit snugly in the opening and screw it to the strips.
Apply the First Coat of Joint Compound
Using a 6-inch putty knife, spread all-purpose joint compound over the mesh or seams, pressing it firmly into the surface. For larger patches, bed paper joint tape over each seam first, embedding it in a thin layer of compound before covering with a full coat. Smooth the surface as evenly as possible, then allow to dry completely - typically 24 hours at normal indoor temperature and humidity.
Sand and Apply Subsequent Coats
Once the first coat is fully dry (it will appear uniformly white with no dark wet spots), lightly sand with 120-grit sandpaper. Wipe away dust, then apply a second coat with a 10-inch knife, feathering the edges wider than the first coat. Let dry. Inspect under raking light - a flashlight held at a sharp angle reveals low spots and ridges. Apply a third coat if needed, feathering even wider. Sand the final coat to a smooth finish with 120-grit, then 150-grit.
Prime and Paint
Apply one coat of drywall primer (PVA primer) over the entire repaired area and allow it to dry fully. Then apply your finish paint to match the surrounding wall. For best color and sheen matching, plan to paint the entire wall section from corner to corner rather than spot-painting only the patch area.
Check for Wiring and Plumbing First
Before cutting into any wall, use a stud finder with live-wire detection or an AC voltage sensor to confirm there are no electrical cables or plumbing pipes behind the damaged area. Cutting into a live wire is a serious electrical hazard. If you detect wiring or are uncertain, consult a licensed electrician before proceeding.
Getting a Smooth, Invisible Finish
The patching itself is only half the job. Blending the repair into surrounding wall texture - and priming correctly - determines whether anyone will ever know the hole was there.
Feathering Your Edges
Each coat of compound should extend several inches beyond the previous one. This gradual taper, called feathering, eliminates visible ridges. Use a wider knife for each successive coat: start with a 6-inch knife, move to a 10-inch on the second coat, and finish with a 12-inch if the area is large.
Matching Wall Texture
Smooth walls just need sanding to 120-grit followed by primer. If your walls have a texture - orange peel, knockdown, or skip-trowel - replicate it on the final coat before it fully sets, or use a spray texture product after sanding. Practice on cardboard first to match the pattern.
Priming Is Not Optional
Joint compound is highly porous. Painting directly over an unprimed patch almost always results in a dull or slightly sunken spot called flashing. Apply a coat of drywall primer (also called PVA primer) and let it dry completely before applying finish paint. This single step is the difference between a patch that's invisible and one that's obvious every time the light hits it at an angle.